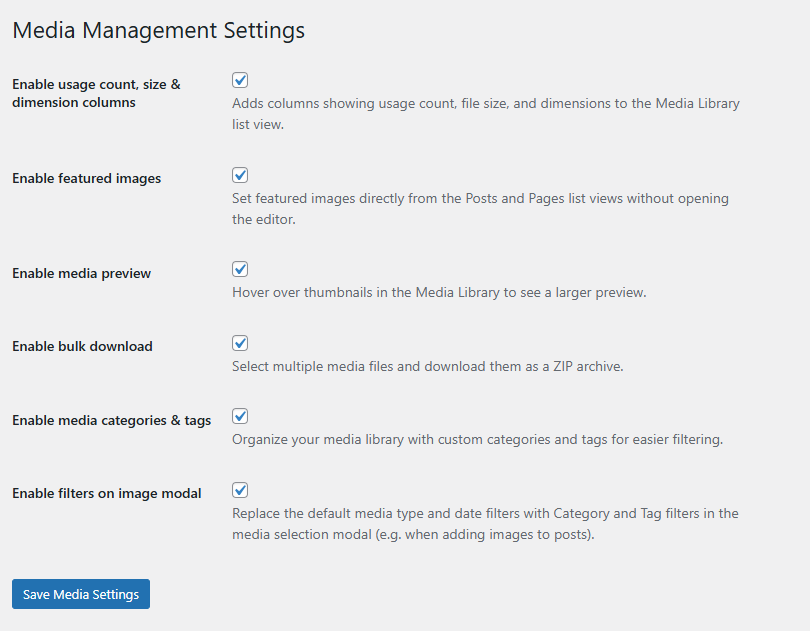
This example shows 3 images, where they are in use (added to posts / pages / featured images), the image file size and image dimensions. Larger images show the exclamation warning to highlight they may be oversized (based on dimensions).
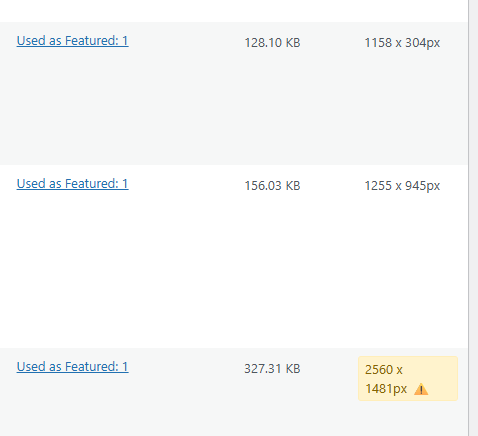
Clicking a “Used as” link will open a modal, showing the posts / pages that the image was detected in. Images used by CSS in backgrounds etc are not currently detected.

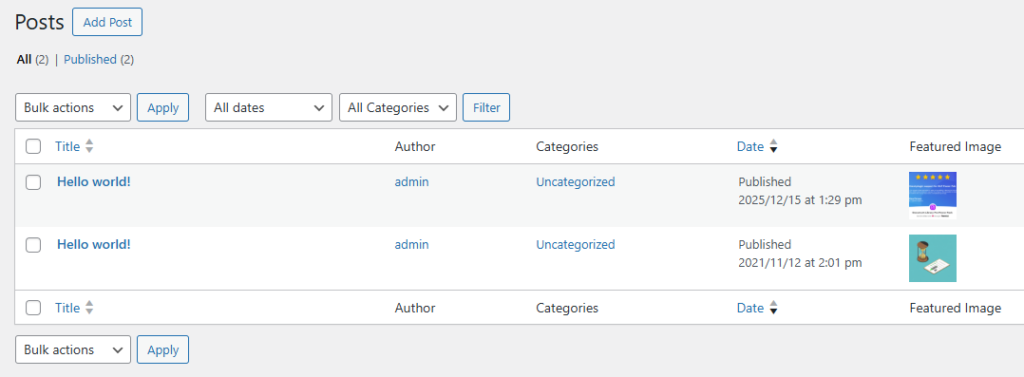
Previously, to set a Featured Image on a Post required editing the Post and locating the meta box on the side of the page. With “Enable featured images” checked you can view and easily set Featured Images for your Posts / Pages.
Click an image (or its blank place holder) to open the Set Image modal. Pick your image and click Set. The image on the Posts screen will instantly update so no page refresh is required.
“Enable bulk download” allows multiple images to be selected and downloaded in one ZIP file from the Media Library. For a targeted selection you can use a search or category selection to narrow down your selection and click “Select All” followed by “Download X selected files”.
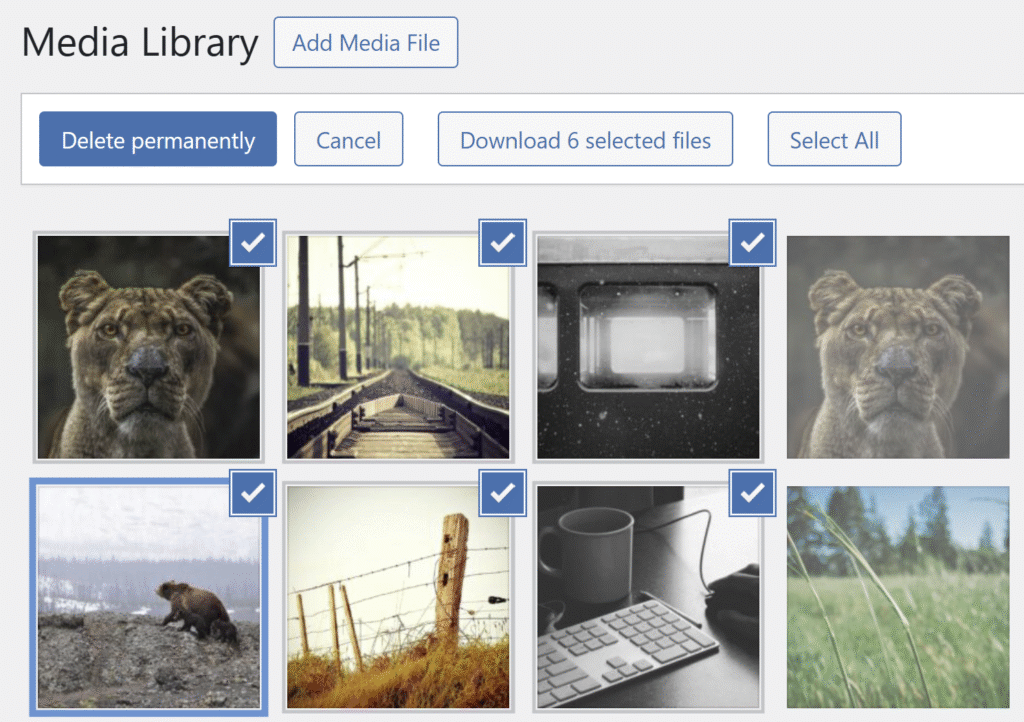
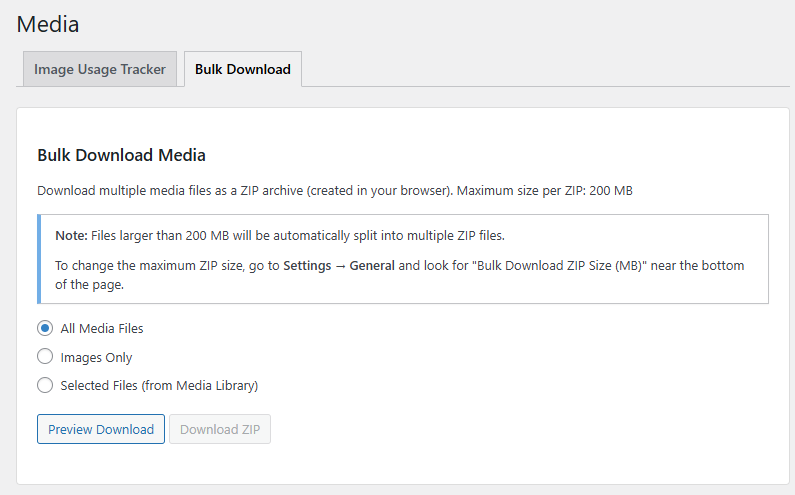
With the Media Management module enabled (no additional setting required) you can also download the entire Media Library. From the ToggleWP > Media menu item you can access the Image Usage Tracker / Bulk Download screen.
On the Bulk Download tab, select your media type (All Media Files / Images Only) then click “Preview Download”.
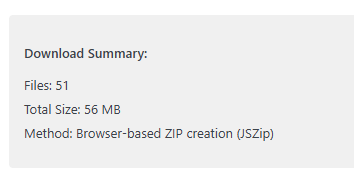
A Download Summary panel will appear letting you know the total number of files and total size in MB. As browser based compression is used each ZIP has a default size of 200MB. When downloading larger libraries check your browser for a notice that multiple downloads were blocked. You may need to allow it and attempt the process again (this is a browser safety check and not something that ToggleWP can override).
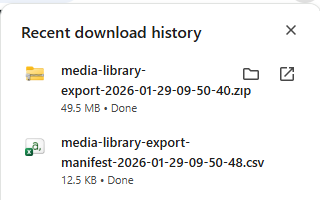
As this library was small there was one ZIP and a separate CSV file downloaded.
The CSV file contains the following information:
- Original URL
- Original Path
- Downloaded Filename
- Original Filename
- ZIP File
- ZIP Part
- File Size (Bytes)
- MIME Type
- Alt Text
- Uploaded Date
Why might the CSV file come in handy? As WordPress uploads media to dated folders you could end up with multiple “Image1.png” in different folders. However, the bulk download puts all media in the one ZIP without a directory structure. To prevent duplicate filenames any additional files will be named _2 / _3 etc.
With the original URL listed in the CSV you can find the relevant renamed file easily.
“Enable media categories & tags” reenables the hidden Categories and Tag screens and filters. These can be managed via Media > Categories / Media > Tags.
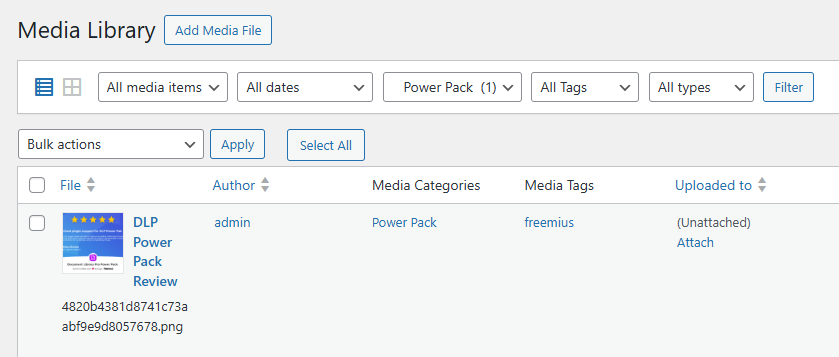
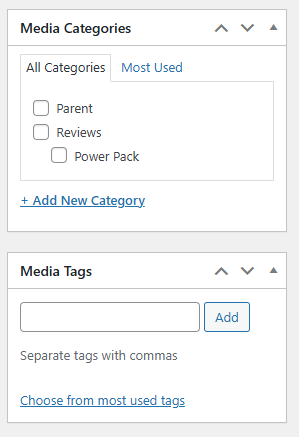
When editing an image from List View (so the full edit screen appears, not the simple modal used in Grid View) your media items will include the two additional meta panels.
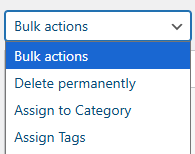
To assign categories / tags in bulk select the relevant media items, then from Bulk actions pick “Assign to Category” then click “Apply”.
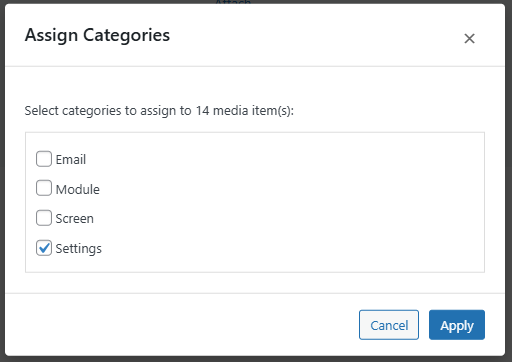
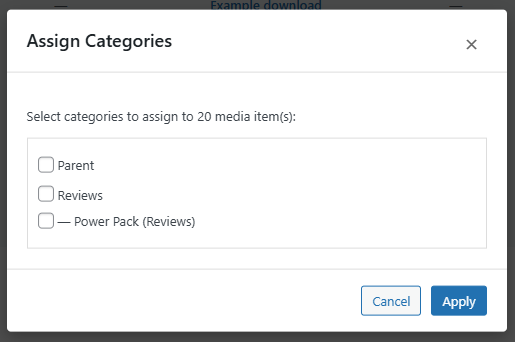
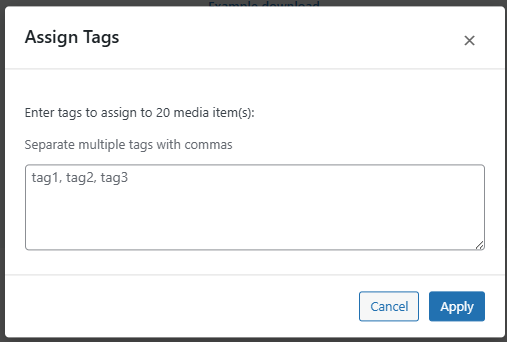
The “Assign Categories” or “Assign Tags” pop up will appear allowing you to pick one or more existing Categories. After making your selection click Apply.
For hieratical categories its parent will be shown in (brackets) as shown below:
For tags you can enter the text, separated by commas, then click Apply.
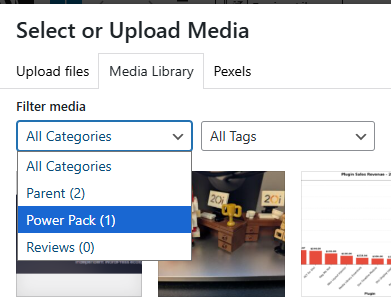
“Enable filters on image modal” – with your Media Library nicely organised with Categories / Tags you can now make use of this time saving feature.
Once enabled the standard “Select or Upload Media” screen will have its two existing drop down filters swapped out with Categories and Tags.